
Knowing how to adjust your snowboard bindings is important not only for comfort and safety, but also for accuracy.
If you are new to snowboarding, with us you will learn what types of bindings there are, what the terms goofy or regular mean and how to set your snowboard bindings in terms of the correct distance or leg angle.
Types of snowboard bindings
In the case of snowboard bindings, the basic classification into hard and soft ones is used. The first type is intended for freecarving or slaloms, i.e. for going at high speeds, so it is used above all by experts and professionals.
In the case of soft snowboard bindings, used among others for freeride and freestyle, we distinguish three types:
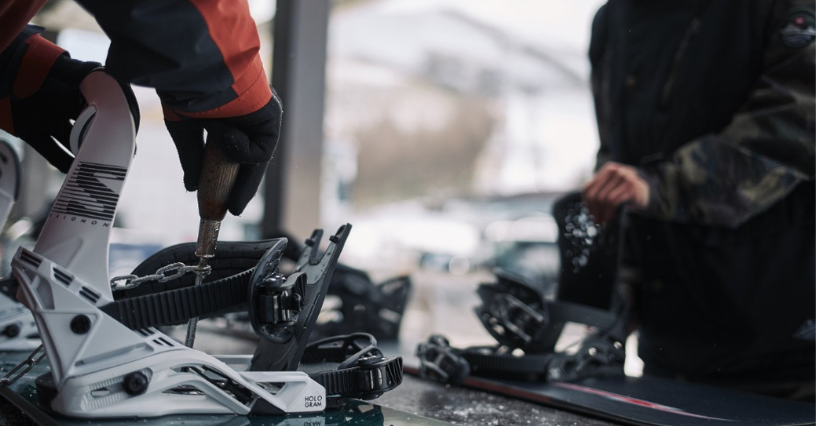
- strap-in – the most popular type of soft ties. They are used for learning and recreational riding. They consist of a rigid heel counter (known as a highback or spoon) and two toothed straps fastened with buckles (known as pumps).
- The straps are used to adjust the size of the bindings and have the role of preventing, among other things, the boots from slipping. One is located in the area of the ankle, and the other at the level of the fingers.
- The so-called spoon is located at the back of the binding and is especially important when skiing with your back (the position of your face and torso with your back to the slope).
- The disadvantage of strap-in bindings is that the straps must be completely undone when putting on the shoes ;
- step-in – construction instead of straps has a special pin, which is compatible with dedicated footwear. The buckle is simply clipped into a hole in the sole, making this type of snowboard binding a quick and easy solution. It is suitable for a leisure ride without stunts like jumping etc. ;
- hybrid – combines the features of both types of snowboard bindings above and usually requires use with the appropriate snowboard boots. Among the advantages are, for example, the fact that there is no need to untie the straps, which is exposed to the comfort and speed of fastening .

sss
Anothfer ifffmportant consideration when fitting snowboard bindings is using the right mounting system, which has different designs and purposes. Available on the market:
- d isc 4×4 – the classic and oldest binding system with binding angle adjustable in 3 degree steps. The binding is fixed to the board with four insert screws (4 holes for each binding) by mounting a round disc on the surface of the board .
- 3×3 disc – works on a similar principle to the previous type of fastening, except that it is fixed to the plate with three screws ;
- EST – a Burton patented system where the inserts are replaced by a rail. It is fixed with two screws. The solution allows changing the fixing angle in steps of 1 degree. The rail is equipped with a soft base, which gives the rider a better feel of the board and more control while riding .

Goofy or regular? Ways to set snowboard bindings
Before you start arranging your snowboard bindings, do a little test to determine your lead foot, which will tell you how your feet are positioned on the board – goofy or regular . In the first position, the right leg is the front one, and in the second position, the left leg. To see how things are in your case, step on a slippery surface and at the moment of slipping check at the same time which foot moves forward first.
Alternatively, you can also stand on both legs and start leaning forward until you lose your balance – pay attention to the leg you wanted to cushion the fall with, it should be the one positioned in front of the board. These tests help you fine-tune your binding settings, but they are not a final guide, as you may find after a few sessions on the slopes that you ultimately prefer to change your front foot .
How to adjust snowboard bindings?
Adjusting your snowboard bindings properly requires focusing on things like the distance between your feet, the angle of your feet in relation to the board, and the length range of the straps. Get your screwdriver ready and let’s get started .
Stance, or the distance between the links on the board
The spacing of the links on the board influences, among other things: the comfort, stability and maneuverability of the ride, as well as the level of control over the board. Stance is a very individual matter, so there is no one-size-fits-all way to set it up.
The accepted general rule is to use the principle of mounting the bindings at shoulder width or a few centimeters more, or to choose a distance that corresponds to the natural position of your body in an easy step.
Alternatively, you can do a free jump and check how the feet are positioned after landing – set the bindings at this distance.
With a correctly adjusted board length you can use the inserts in the middle to adjust the distance between the legs. Try multiple settings and choose the optimal width between your bindings for comfort and freedom of movement both on and off the slopes.
Establishing bond angles
The angle of the feet in relation to the board is another important aspect when fitting and adjusting bindings, which is influenced by factors such as body shape, ability or riding style (freestyle, carving/racing, freeride). Supposedly, the so-called duck, a position in which the toes turn slightly outwards , will work well to begin with. As you learn to snowboard, you can also use the rule of thumb that the front foot should be bent at 30 degrees, while the back foot should be bent at 15 degrees. To check if the binding angles are optimal for you, you can do a few squats and jumps, try to shift your weight to your heels and toes, or more on one foot, and monitor for any discomfort.
Highback setting
The highback, or the popular spoon, allows you to adopt the correct position, increase/reduce the pressure on the back of the foot and thus go at higher/lower speeds and also affects the stability of the walk. At the beginning of your snowboarding adventure, it is a good idea to use the high position of the highback, which will give you a more optimal leaning body position and therefore, it will be easier for you to control the board. If you have trouble maintaining your posture and often lean on your back, you can try adjusting the cups so that the front one is at a greater angle than the back one.
Setback setting
This parameter refers to the distance between the links, relative to the nose and tail of the board, and involves moving the links 1-2 inserts back (closer to the back edge of the board). This helps to have a more dynamic and aggressive ride (eg in turns) and to maintain good control of the snowboard when riding on snow. For beginner snowboarders, a symmetrical binding setting is recommended .
Adjustment of adjustment straps
Properly adjusted straps ensure that the shoe fits perfectly around the foot. The straps should ensure an even fit with the footwear so that there is no looseness or discomfort caused by too tight a closure.
How to check the correct setting of snowboard bindings?
To check if you have adjusted your snowboard bindings correctly, place the board on a carpet or other soft surface, for example, and step into the bindings. Then bend your legs at the knees and do some squats and other movements that mimic walking on the field. If you feel comfortable in all of these, it means the bindings are set correctly. Do you feel discomfort? Try adjusting the links again until you find the optimal setting for you.
As you can see, adjusting snowboard bindings requires knowing a few key principles, but it’s not a complicated process. Since proper binding fitting and adjustment is heavily influenced by individual preference, it’s worth doing it yourself to maximize your comfort and safety when snowboarding .